What is Twitch Studio, and should you use it for streaming?
Mon, 24 Aug 2020 21:56:52
Staff ![]()
1066
Twitch Studio is a free tool that comes with easy automatic setup, and seamless optimization of your Twitch stream. It's the perfect way to start streaming, without having to worry about setting up or testing intimidating Open Broadcaster Software (OBS) connections.
Is Twitch Studio Right for You?
If you are unsure about setting up your streaming settings on Open Broadcast Software (OBS), Twitch Studio is for you. This simplifies everything, including setting the streaming quality.
In the Twitch Studio program, you can view your chat streams along with your live broadcasts and view your activity feed. Alerts (like following and subscribing) are built in too, which makes connecting with your Twitch community easier than ever.
How to Set Up Twitch Studio
To get started, simply download and install Twitch Studio on your Windows 10 PC or Mac.
If you are logged into your Twitch.TV account in your browser, Twitch Studio will recognize it and all you have to do is type in the password. If you don't have an account yet, register an account to start the Twitch Studio program.
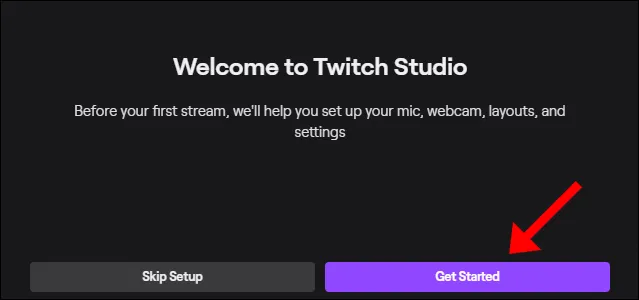
After you log into your account, click “Get started” to follow the Twitch Studio setup process. This is especially useful for people who have never set up streaming, or those who are not comfortable with OBS settings, or other streaming clients with complex settings and adjustments.
First, choose your default mic. If you’re using a headset with a mic, Twitch Studio will automatically detect and set it as your default, but you can change it.
Next is your webcam. The same as the mic setting, you can personalize these and also use built-in color filters.
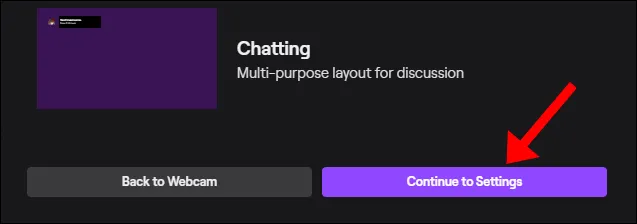
Lastly, you can choose your stream layouts, including the main layout, a chatbox, a “Be Right Back” screen, and any widgets you want to include. You can also create an entirely customize layout if you prefer. The recommended size is 1920 x 1080 pixels.
After you’ve selected a layout, click “Continue to Settings.”
This is where you can edit your stream quality settings. It’s okay if you have no idea what you’re doing here — Twitch Studio will optimize everything for you automatically. If you’d like to customize these settings, though, click “Tweak Settings.”
Here, you can manually configure stream resolution, bitrate, FPS, and more. You can also go back and rerun the optimization test. After you’ve finished, click “Continue to App.”

This new screen is your main dashboard. You can customize everything here, including your stream title, layouts, and chat settings.
When you’re ready to stream, just click “Start Stream” at the bottom.
Twitch Studio Features
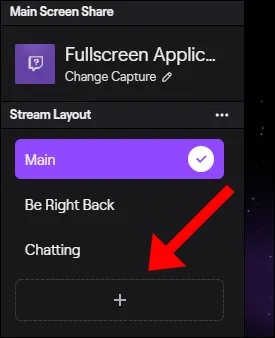
Once you’ve got Twitch Studio done and running, you can tweak any customization you’ve made, even while you’re streaming live. You’ll see any changes in real-time. For example, you can use the panels on the left to switch between your active and “Be Right Back” screens.
It’s often helpful to configure hotkeys for each of your scenes, so you can switch between them easily. This is especially helpful if you use a single monitor.
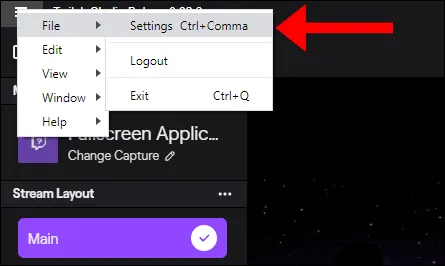
If at any time you want to reset the client completely, click the hamburger menu at the top left, select “File,” and then click “Settings.”
In the “Settings” window, click the “Reset App.”

This will restore the application to its install state, and hint you to either click “Skip Setup” or “Get Started” (as covered above).
Keywords: twitch studio, twitch stream guide, twitch stream chat, how to stream on twitch
Also Read: