How To Transfer Facebook Photos and Videos to Google Photos?
Thu, 09 Jul 2020 23:03:42
Staff ![]()
248
RakitAplikasi.com/en - Uploading media from Google Photos to Facebook is always easy. Now, Facebook has an upside-down role and wants users to easily send Facebook media to Google Photos too.
With the new photo transfer tool, you can synchronize Facebook pictures and videos to your Google Photos to have all of your media in one place.
This tool is based on code developed by the open-source Data Transfer Project. It was re-established in 2018 by Facebook, Microsoft, Google, and Twitter, with Apple joining the party in 2019. The project aims to help technology giants develop tools to easily transfer user data across applications and services.
How do you transfer Facebook photos to Google photos?
Method 1: Via Photo Transfer tool
Note: Facebook’s data transfer tool is currently available in the US, Ireland, Europe, and Latin America.
To transfer data between Facebook and Google Photos, follow the below steps —
- Go to Facebook Settings > Settings & privacy.


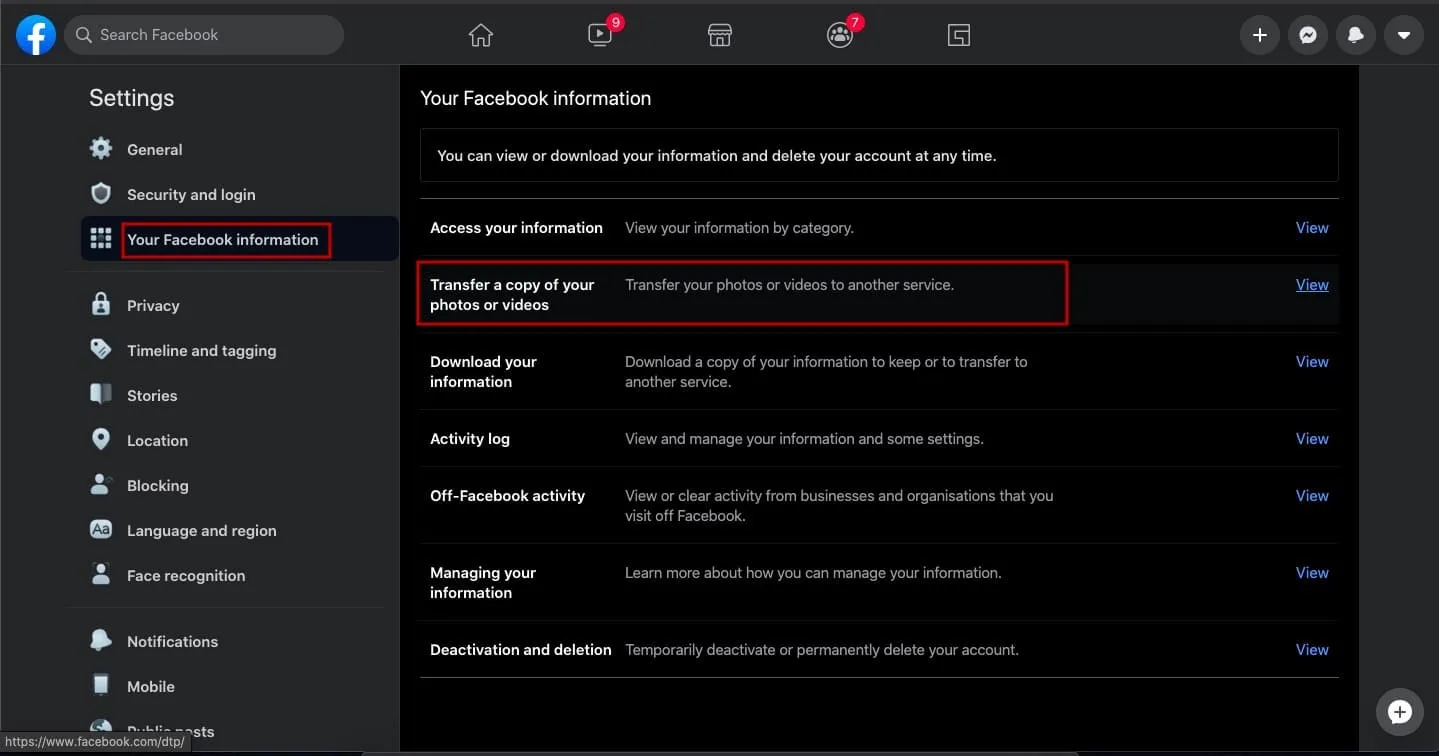
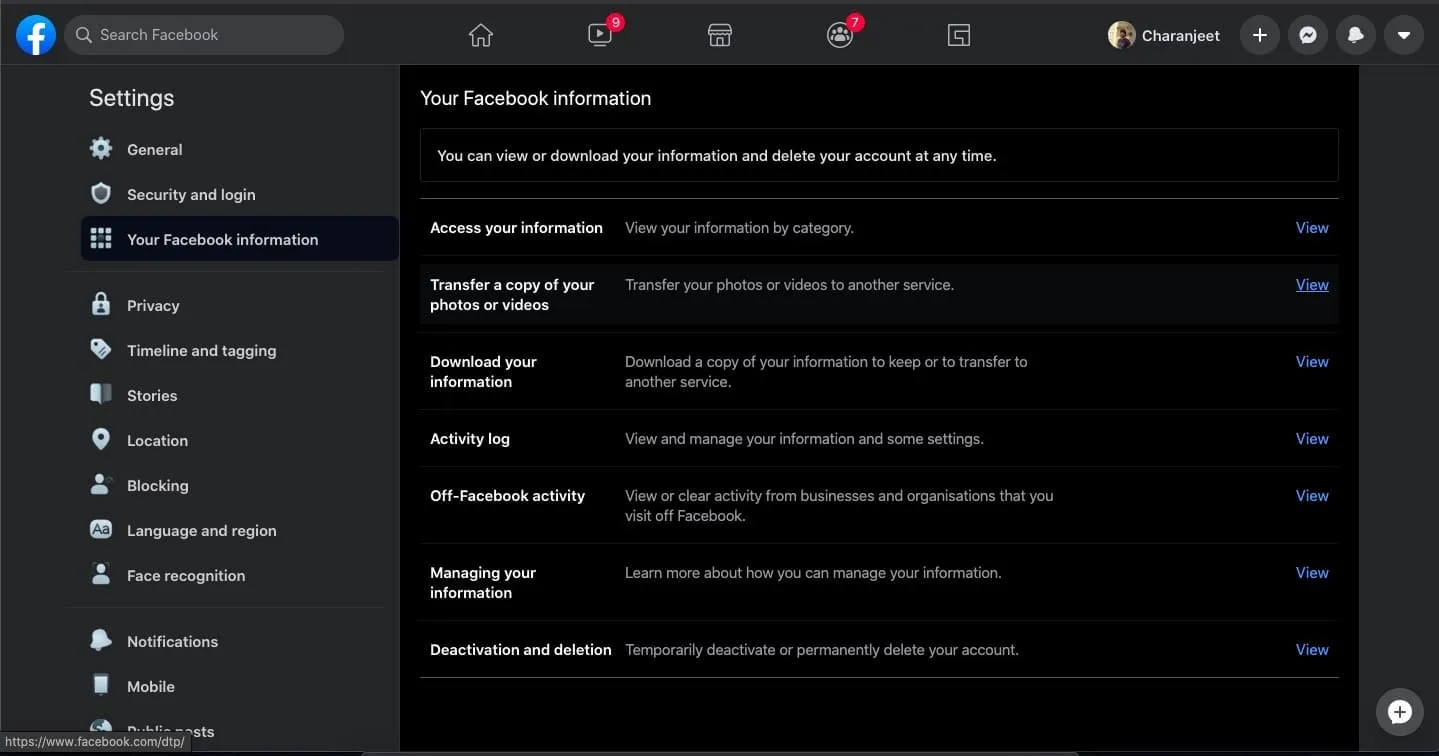
- Select Your Facebook Information Tab.
- Click on “Transfer a copy of your photos or videos.”
- Enter your Facebook password in the next window. Alternatively, click here to skip the above steps.
- Select Google Photos from the Choose Destination drop-down menu.
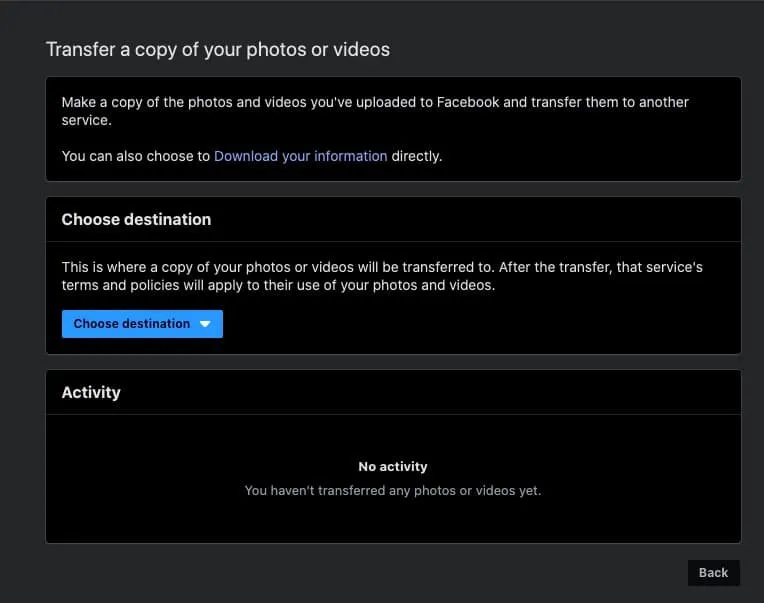
- Choose whether you want to transfer photos or videos.

- Click on Next.
- Enter the password of your Google account.
- You will receive a notification on Facebook and via email once the transfer is complete.
“Transfer a copy of your photos or videos” option is also available on the Facebook app for Android and iOS.
Method 2: Download Facebook Photos and Videos
Alternatively, you can first download Facebook photos and videos on your PC and later upload them on Google Photos. Follow the steps mentioned below:
- Go to Facebook Settings.
- Select the Facebook Information Tab.
- Click on “Download your information.”
- Click on Deselect all and tick Photos and Videos. Here, you can even select the date range as well as the media quality.
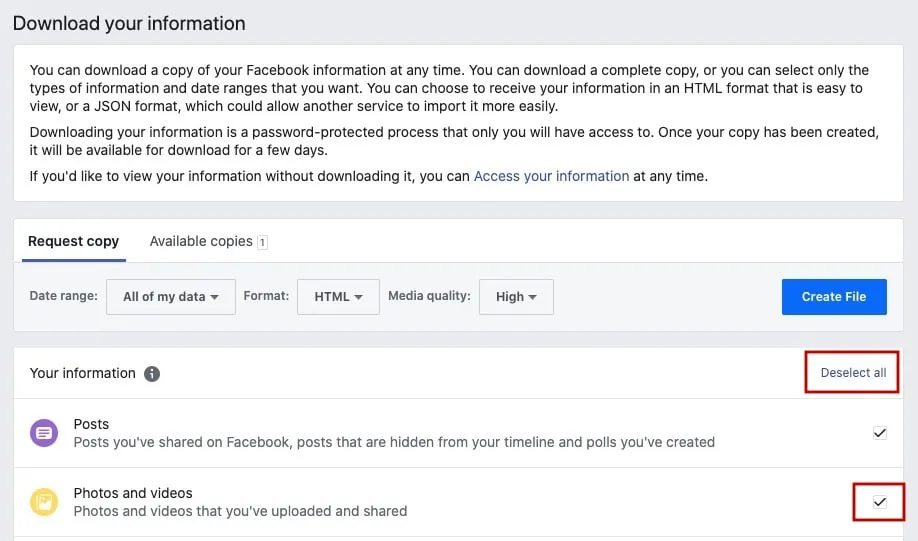
- Click on Create File.
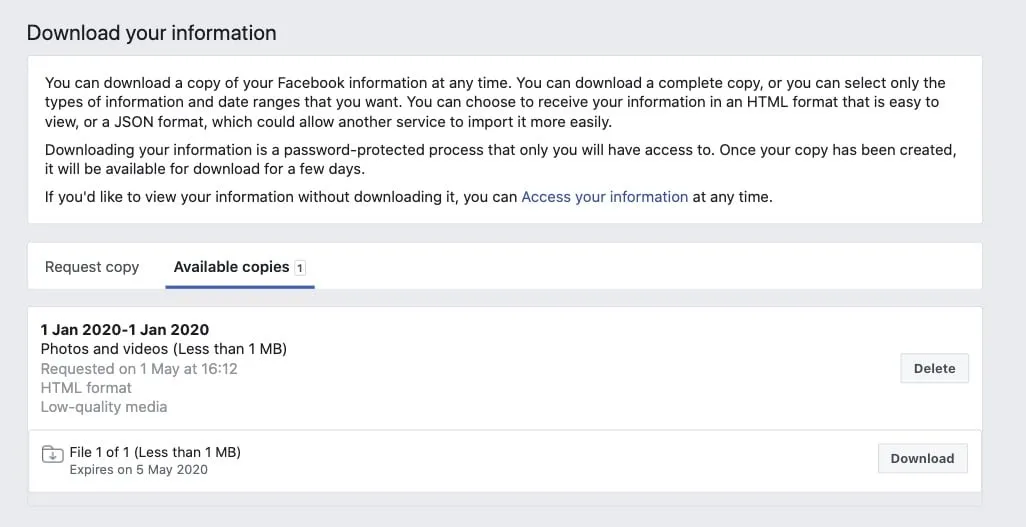
- You will receive a notification on Facebook once the transfer is complete.
- Click on the notification. Now, click on the Download button in the “Available Copies” section.
You will find similar steps on Facebook for Android and iOS applications. This method can also be used to download all Facebook data if someone wants to do it.
Method 3: Save To Device
This option is suitable if you only have a few pictures. Just save the file on your device and upload it to Google Photos. However, this method only applies to download Facebook images.
Read More: How To Download Facebook Videos Online? (Public and Private Videos)
Tap on an image on Facebook > tap on the triple dot menu. You will find a Download button on the PC and a “Save Photo” button on the Facebook app on Android and iOS. However, you cannot download videos on Facebook via this method.
Facebook has plans to add transfer tools for contacts, friends lists, and more. Meanwhile, we would recommend storing Facebook content on a PC and then uploading it to other services.
Keywords: Data Transfer Project, Facebook Google photo transfer, Google Photos, Photo Transfer tool, google photo sharing, transfer data
Also Read: